Real-Time vs Confirmation Mode for Scanning XABCD Patterns

XABCD Pattern Scanning Setup – Real-Time or Confirmation Mode?
There is no right way, or wrong way to scan for XABCD patterns when it comes to Real-Time vs Confirmation Mode. Each has pro’s and con’s and in this article we’re going to go over the differences and also show you how to set them up.
Real-Time vs Confirmation Mode
What is Real-Time Mode?
Real-Time mode is pretty much what it sounds like and will draw the pattern onto your charts the second the ratios are valid. You could also customize your ratios to have the patterns trigger earlier. However real-time means that once the ratios you have entered are valid, boom, the pattern will trigger an alert and be drawn right on the chart.
Pro’s of using Confirmation Mode:
Con’s of using Confirmation Mode:
What is Confirmation Mode?
Confirmation mode means that the high that forms the last point in the pattern needs to be “confirmed”. A confirmed high is going to take place after price retraces from the high’s which basically means the reversal has started. What would be the befits of using confirmation mode?
Pro’s of using Confirmation Mode:
Con’s of using Confirmation Mode:
Real-Time Alerts Setup
Follow the instructions below to setup your XABCD NinjaTrader 8 Pattern Software.
The Indicator Real-Time Setup
The indicator is what will display the pattern on the charts and it must match with the market analyzer if you are linking them and want both to work together.
Step 1:
Open a new chart and add the indicator or go into the indicator to edit the properties and settings by right clicking on the chart and going to indicators.
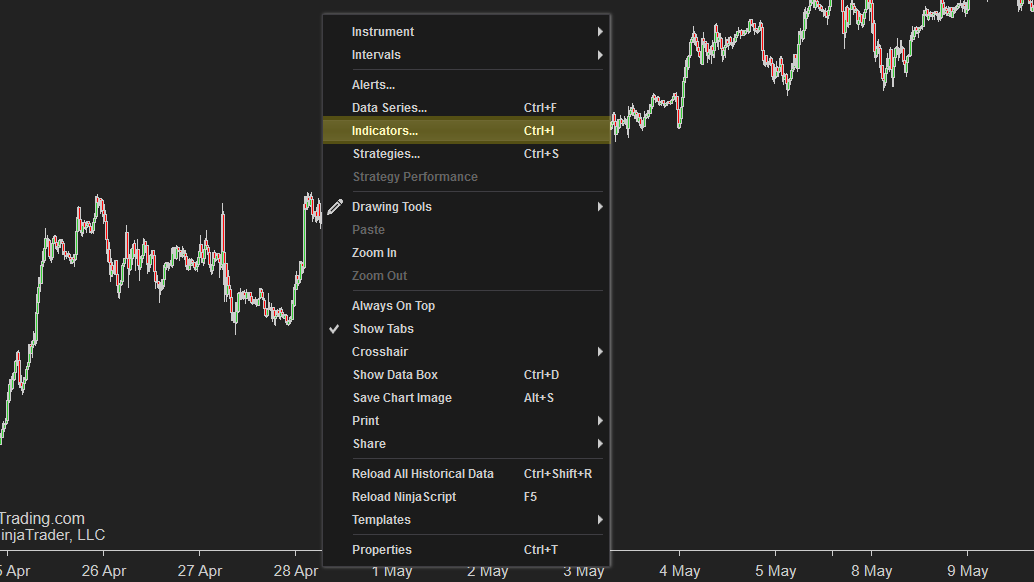
Step 2:
You will then see all the properties you can edit. You will need to select the XABCD Trading indicator and make sure of the following:

The Market Analyzer Real-Time Setup
The market analyzer is what does all the scanning and alerting and needs to be linked to the chart indicator.
Step 1:
Right click anywhere on the market analyzer and go to Columns.
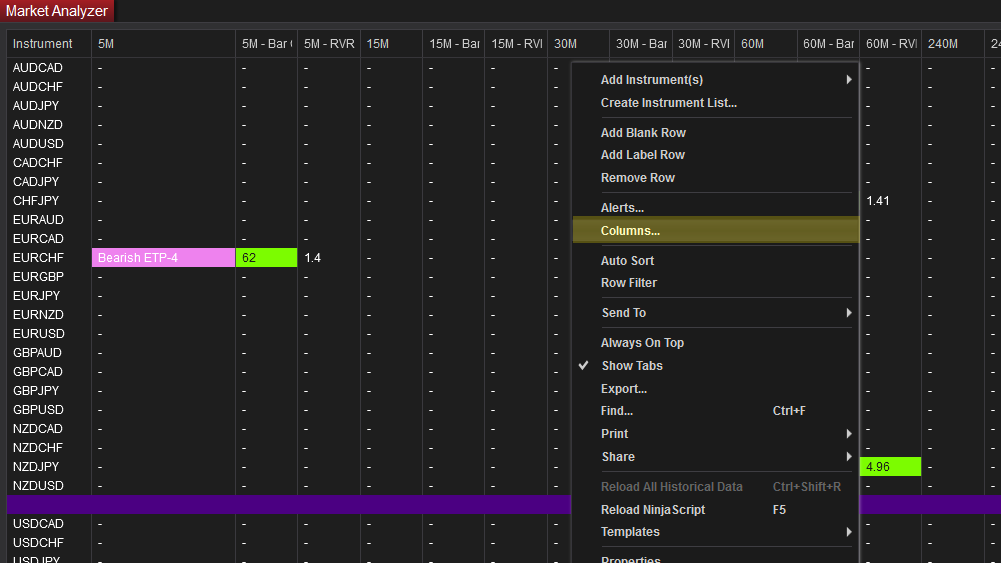
You will need to change the following properties in each Configured Column:

In each Configured column you’re going to have to look at the following items:


That’s it. You’ve configured all the properties you needed too.
Confirmation Mode Alerts Setup
To setup the pattern scanning engine for Confirmation Mode we need to adjust the settings for the indicator properties as well as the market analyzer (if you expect them to both work the same way). Follow the instructions below to setup your XABCD NinjaTrader 8 Pattern Software.
The Indicator in Confirmation Mode
This part will show you how to change the properties in the indicator, however remember to follow the part below which will show you how to update your market analyzer too.
Step 1:
Open a new chart and add the indicator or go into the indicator to edit the properties and settings by right clicking on the chart and going to indicators.

Step 2:
You will then see all the properties you can edit. You will need to select the XABCD Trading indicator and make sure of the following:
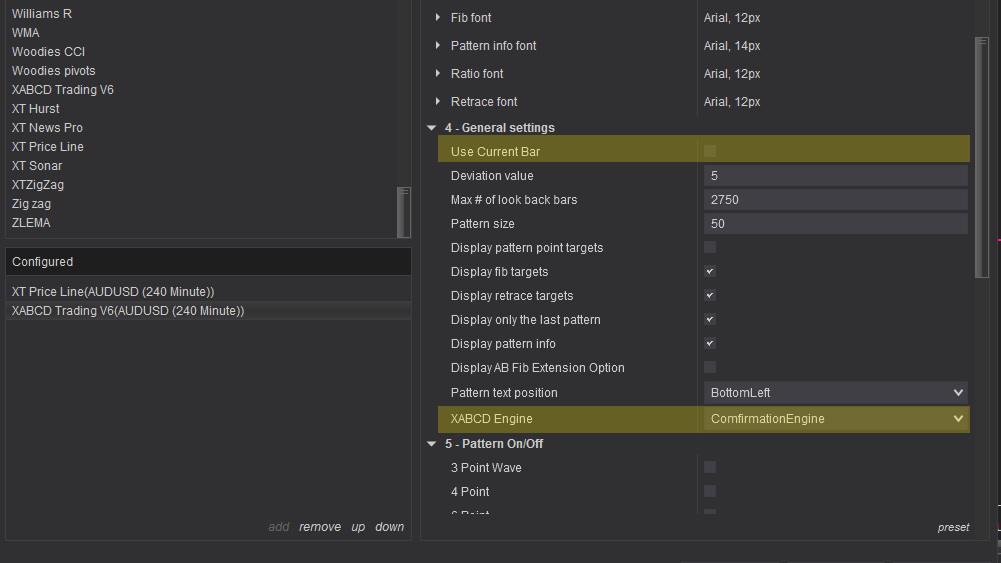
The Market Analyzer Confirmation Mode Setup
The market analyzer is what does all the scanning and alerting and needs to be linked to the chart indicator.
Step 1:
Right click anywhere on the market analyzer and go to Columns.

You will need to change the following properties in each Configured Column:

In each Configured column you’re going to have to look at the following items:


That’s it. You’ve configured all the properties you needed too.
Summary
There are a few things you might want to change as well in your indicator setup as well as your market analyzer setup. Some of those things might be:
You’ll need to make sure each of the indicators properties are the same as the market analyzer. If your indicator is set to look for 50 bar patterns as a minimum but the market analyzer is set to 15, this could be a reason why you see a pattern on the market analyzer but when you go to your chart your not seeing a pattern there.
If you’re still stuck our support team would love to help you, you’ll need to send us screenshots of both your market analyzer and indicator properties. Our support information can be grabbed from our live chat or by logging into your account.
NinjaTrader Risk Management That Actually Moves the Needle
NinjaTrader 8.1.6 — The “No Fluff” Tour (Speed, Clarity, Fewer Clicks)
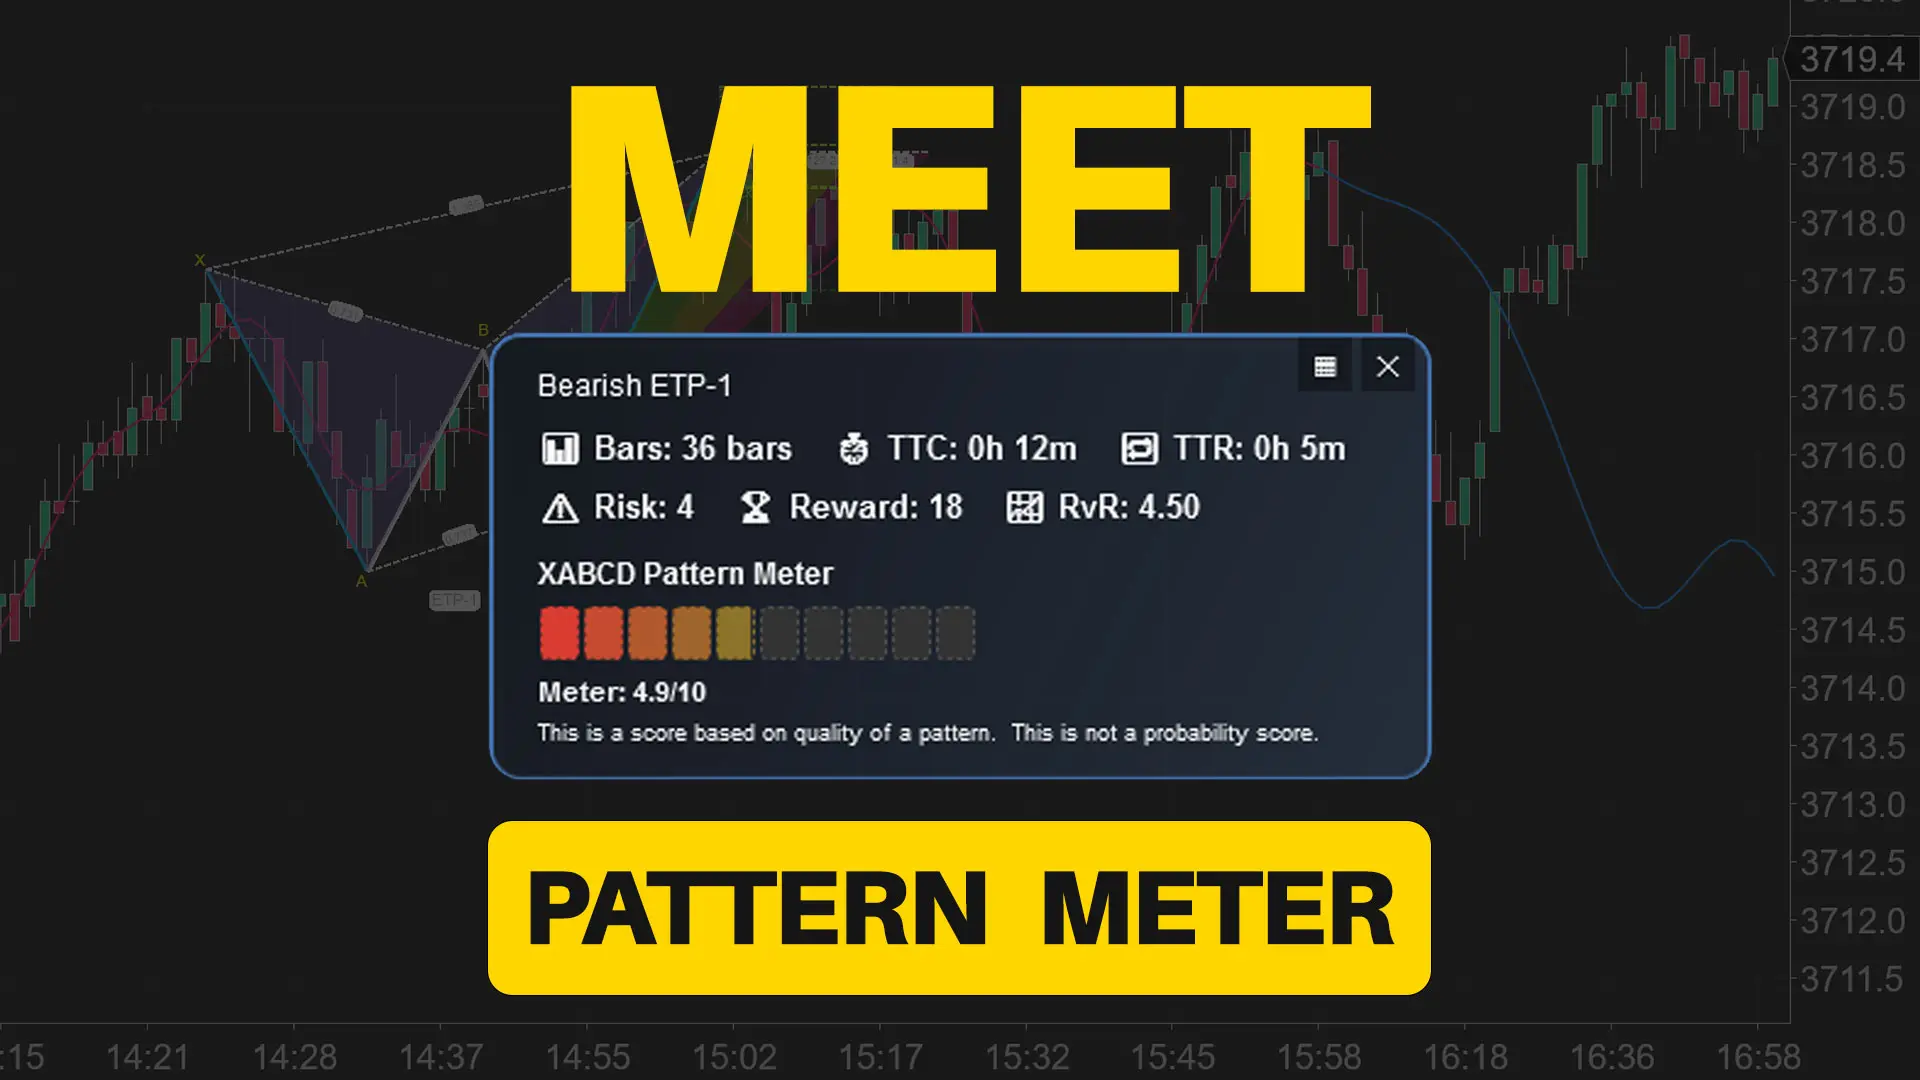
Meet the XABCD Pattern Meter (Real-Time Clarity)
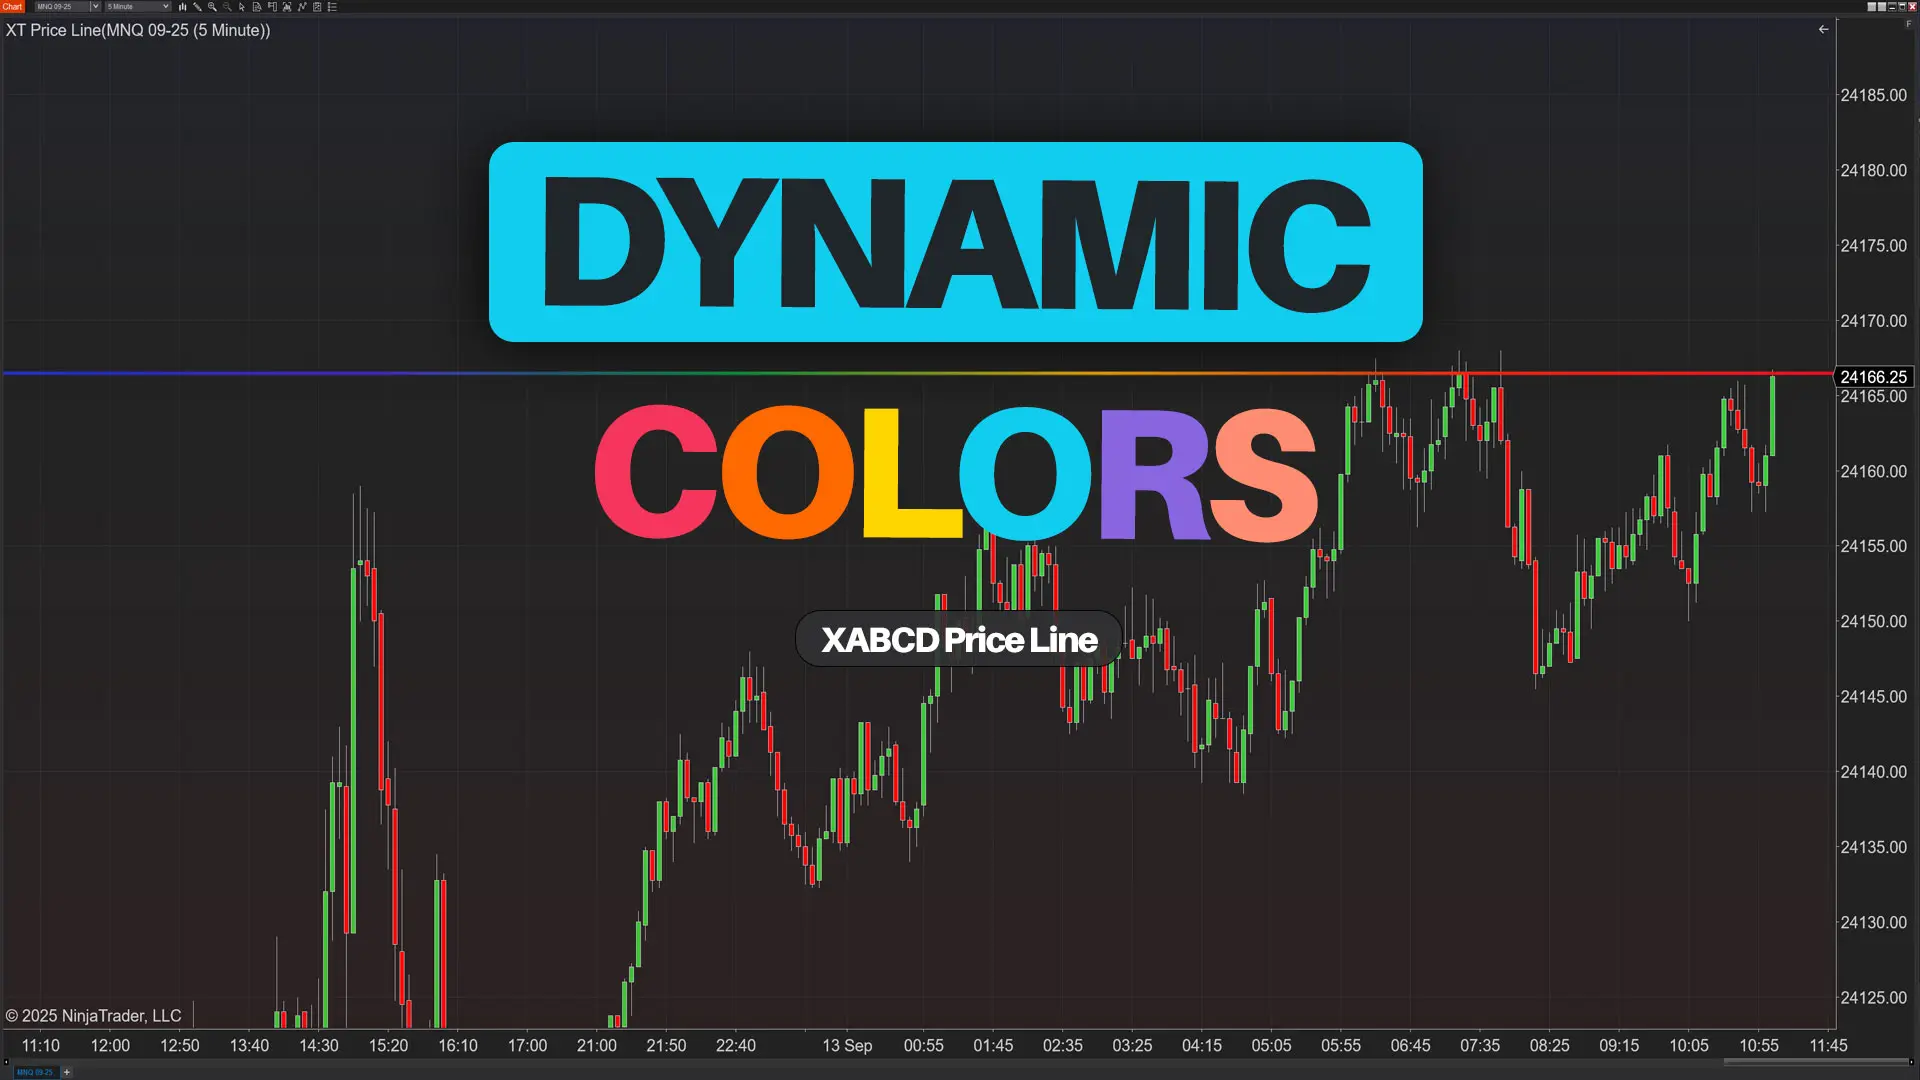
XT PriceLine: Dynamic Colors That Let You See Every Tick
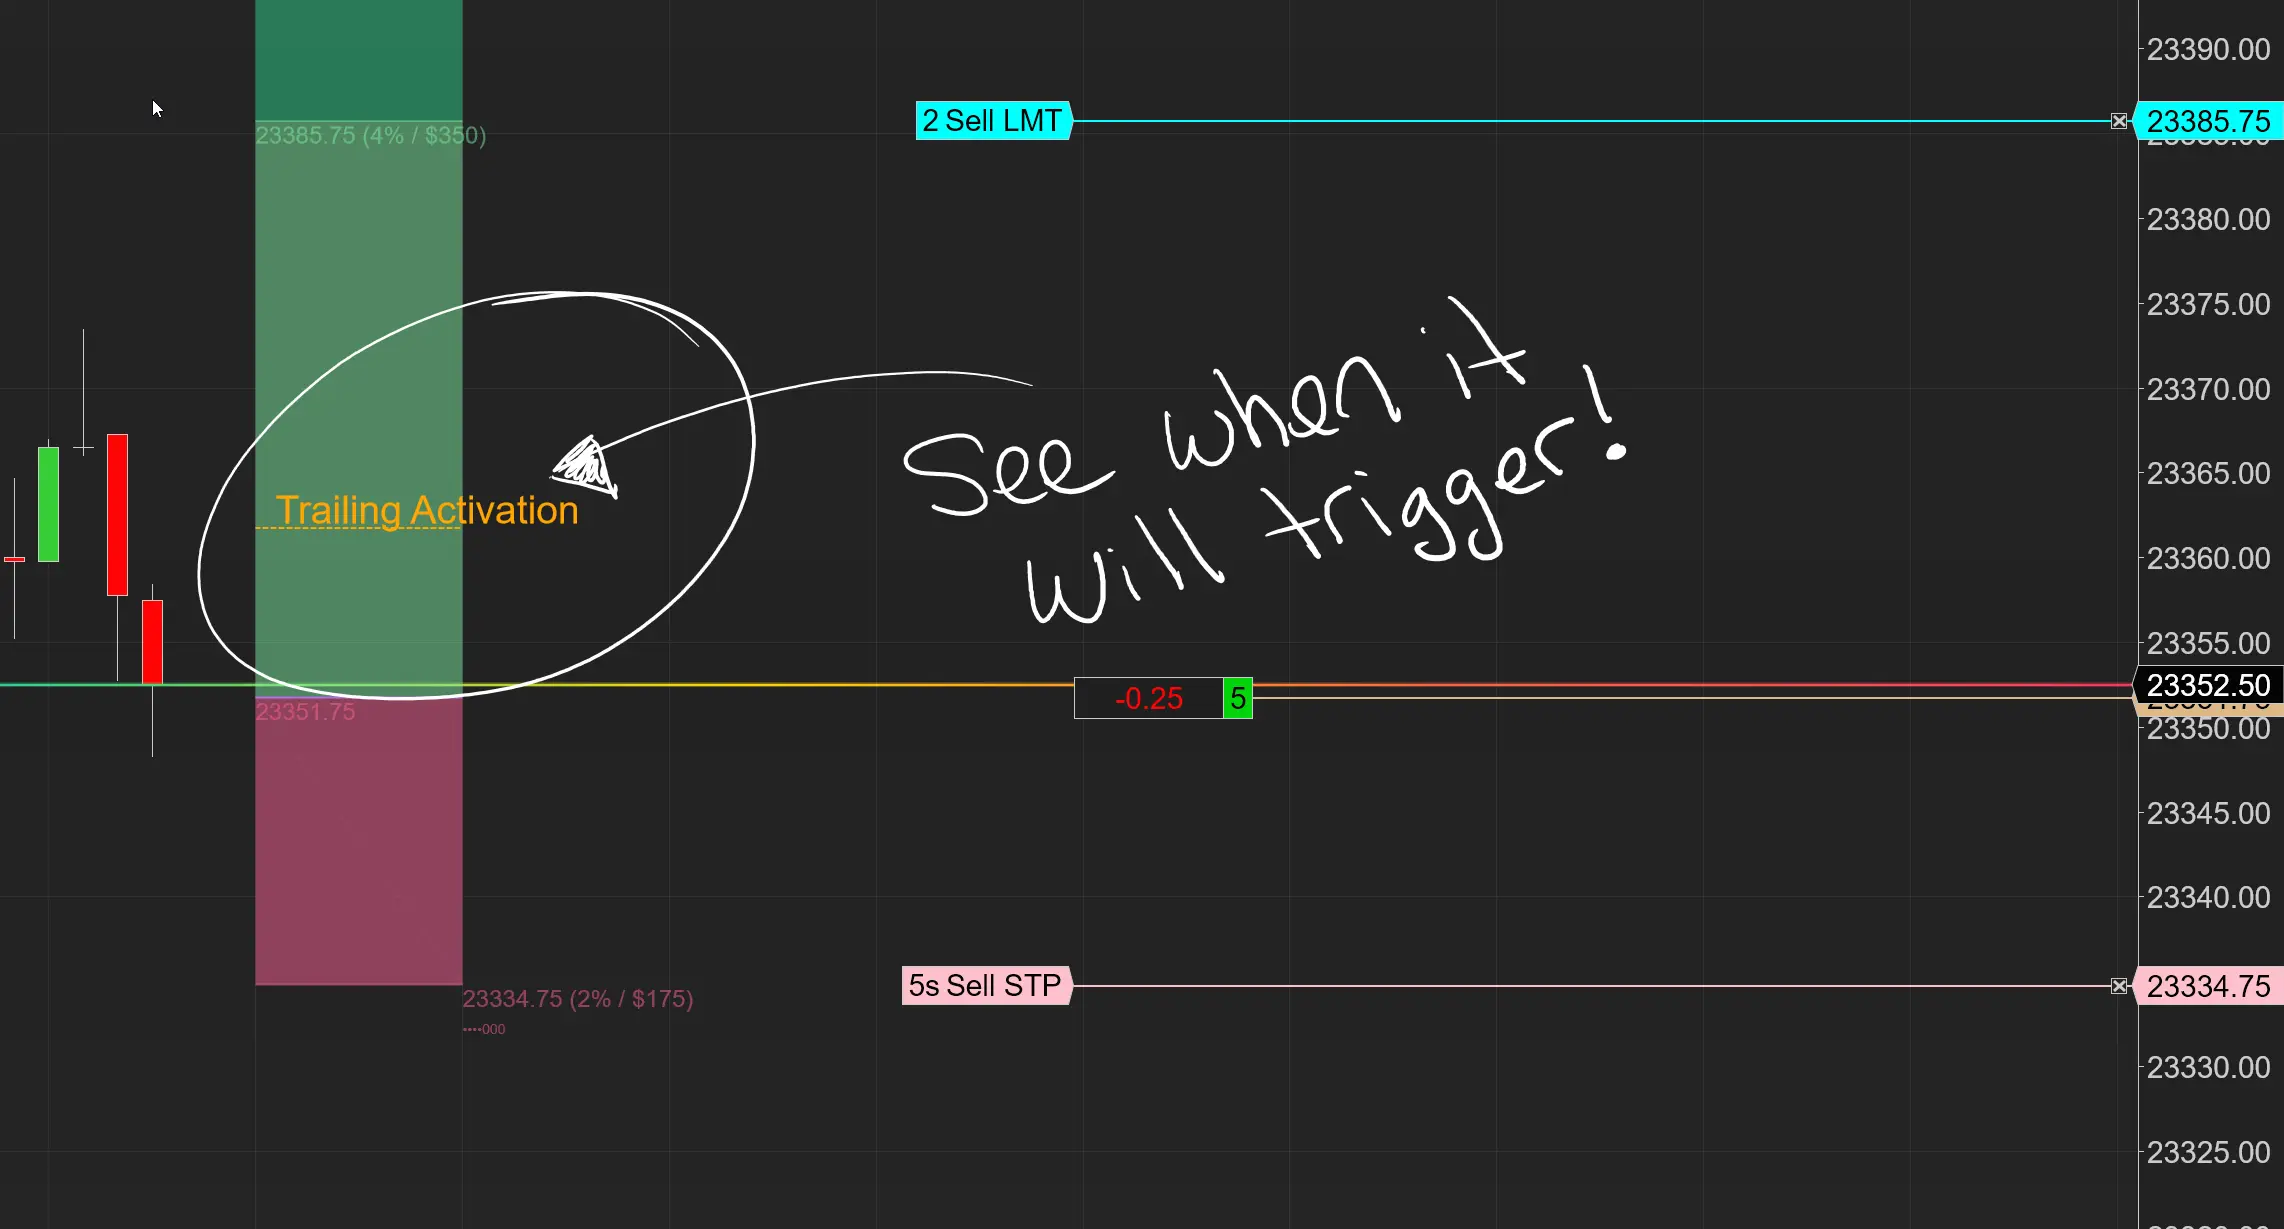
Dominate the Market with Smarter Trailing Stops in NinjaTrader

Why Risking A Percentage of Your Account is Critical When Trading XABCD Patterns
NinjaTrader 8.1.5 – They FINALLY Did It!
Best ATM Strategy for NinjaTrader 8
From Lag to Lightning: The Critical Role of Read/Write Speeds in NinjaTrader 8
